
Last autumn I watched the mini series "Cooked" on Netflix and the episode "Air" was entirely captivating. Possibly, the reason why bread is making so many people sick/allergic these days is because we are cutting corners and no longer taking the time required to make a truly natural loaf of bread. Instead we use bleached flour and yeast made in labs in addition to sugar and all sorts of other chemicals! It's no wonder our bodies are reacting. So I became obsessed with making my own bread from scratch and feeding my family the healthiest possible loaf.
If you don't have time for this and prefer to buy, we now have a few really good sourdough bread makers in Vancouver. At this moment, my favorites are Matchstick and Fife Bakery.
Below are my notes and method. I wouldn't say that making your own sourdough bread is "difficult", but it is extremely time consuming and requires a lot of discipline. Every single loaf I make is better than the one before. It seems to be a case of "practice make perfect". Creating the designs on each loaf has been absolutely delightful for the mind and one my favourite part of the process.
Basic Equipment:
-Scale
-Parchment Paper
-Cocotte/Dutch Oven
-X-Acto knife or blade
-Measuring cups and spoons
-Spatula
-Whisk
Optional:
-Large and heavy ceramic bowl (So your bowl won't spin and move around when you are whisking.)
-Cooling rack (You can use the second rack in your oven for this job.)
-Bread knife (This one almost shouldn't be under optional. A good bread knife will change your life! Our Zwilling certainly has made cutting a breezy job)
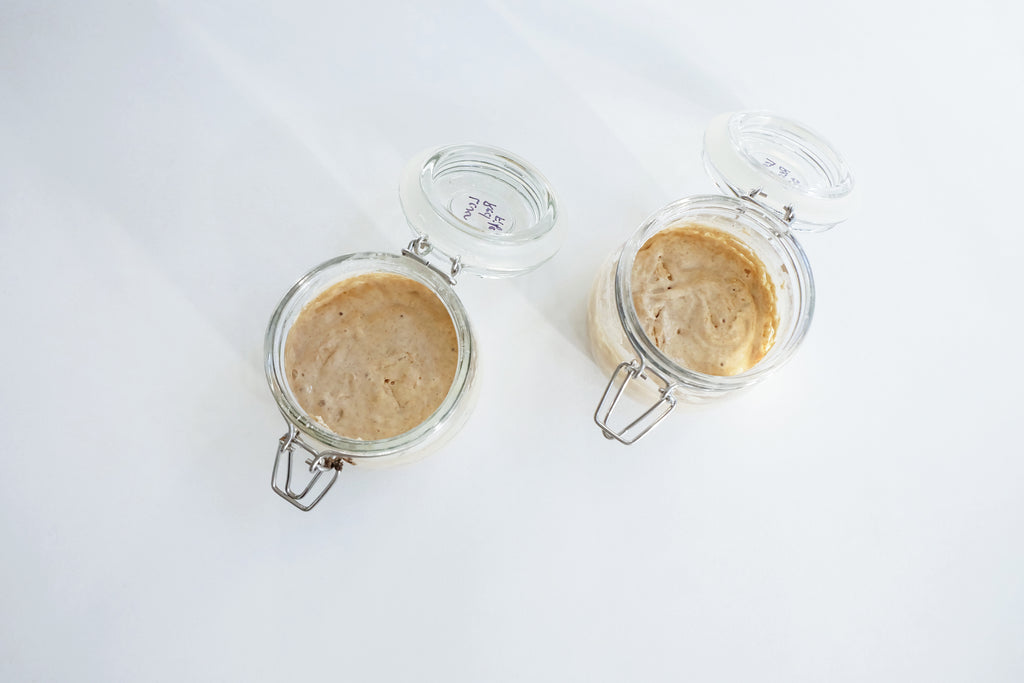
Step 1 Starter Care:
The first thing you will need is your starter. You can make it yourself or simply buy a couple of tablespoons from one of the local sourdough bakeries. I get mine from Fife.
A starter is alive. You will need to feed it daily or every second day and this is where the discipline comes in. If you forget, your starter will die and you will need to begin from scratch. Think of it as a pet. You must give it food and water daily!
Ingredients:
-Organic ground milled rye flour (rye seems easier to work with and I love the smell, but you can use different flour)
-Room temperature filtered water
Method:
Keep your starter in the fridge. If you make bread daily, just keep it in a dark and cool area. Every evening take 2 Tbsps of your starter out and transfer to another container. To this add 75 grams of flour and 75 grams of room temperature water. Mix well, cover with a cloth and leave in a cool dark place. If you are not planning to make bread for a while, you can feed it 50 grams of flour and 50 grams water.
The rest of the starter you will use to make your leven:

Step 2 Leven:
Ingredients:
-2 Tbsp starter
-50 Gram room temperature filtered water
-50 Gram flour of your choice. Basically what you want your bread to end up tasting like.
Method:
Take the 2 tablespoons of your discarded starter mix and add the water.
Mix well.
Add in the flour mixing continuously.
Cover with a cloth and leave on the counter overnight for about 12 hours to ferment.
*There is a floating test you can do to assure your leven is ready, but I've never done it and my loaves have always worked out.

Step 3 Dough:
Ingredients:
-10 gram of sea salt
-100 gram leven
-375 gram room temperature filtered water
-500 gram of flour (use any flour you like and feel free to mix)

Method:
Add the leven in a really large and hopefully quite heavy bowl.
Add 350 grams of the water and mix well.
Slowly whisk in the flour. Take your time to avoid clumps. Your arm will start hurting after a while. If you have a toddler around, this is the time to put them to work! Miss J mixes almost all of our doughs and adds the flour herself.
Let this mixture sit covered (autolyse) for 30 minutes to an hour.
Add the rest of the water (25 grams) and the sea salt.
Mix well.

Step 4 Turning:
Now it's time to do your first fold. There are plenty of methods out there, but my favourite is this one by Whole Hearted Eats. Make sure you wet your hands before, it will make it much less sticky.
Fold a total of 6 times with 30 minutes of rest in-between.

Step 5 Shaping:
Flour a flat surface.
Flip the dough upside down and start shaping with flour dusted hands.
It's easier to see a tutorial than to explain in words.
When you are happy with the shape, dust a clean bowl with flour and refrigerate over night covered with a cotton cloth.

Step 6 Scoring and Baking:
The morning after, Take 1 rack out of the oven. You can use it to cool your bread later.
Place your cocotte (dutch oven) inside (with the lid on) and preheat your oven at 500F.
Once your oven has reached the temperature, let the cocotte sit inside for another 30 minutes.
Just before the 30 minutes are up, take your dough out of the fridge and invert on parchment paper.
You can dust the top of your bread with flour if you would like a two colour design.
Start scoring. This is the fun part. Create beautiful designs and experiment. The cuts have to be deep enough, but not too deep.
Working quickly and carefully not to burn yourself, take the cocotte out of the oven. Lift the lid. Place the dough inside holding the parchment paper. Place the lid back on and return to the oven.
Turn down to 450F and cook for 20 minutes.
After the 20 minutes is up, remove the lid and keep in the oven for another 20 to 25 minutes at 400F.
Cool down on a rack.
To store, I wrap my bread in a cotton cloth in the kitchen cupboard or the pantry. Avoid plastic as it leaks chemicals and would defeat the purpose of having made your own healthy bread!
Voila! Sourdough bread.
